

Key Takeaways
Summary
24 items · 45–90 minutes on-site
Why a Structured Walkthrough Changes Outcomes
Most buyers arrive at a viewing with good intentions but no plan. They circle the car, glance inside, start the engine, and rely on instinct. That approach misses the details that matter most — and sellers know it.
A systematic inspection, working zone by zone, forces you to slow down and look at each area deliberately. It also creates a record: if you find something worth negotiating on, you have specific observations to reference rather than a general sense of unease. For a deeper look at what a formal pre-purchase inspection involves and why it complements your own walkthrough, see what a pre-purchase inspection actually covers.
Use the checklist below as your on-site reference. Work through it before the test drive, so you're not distracted by how the car drives before you've confirmed it's worth driving at all.
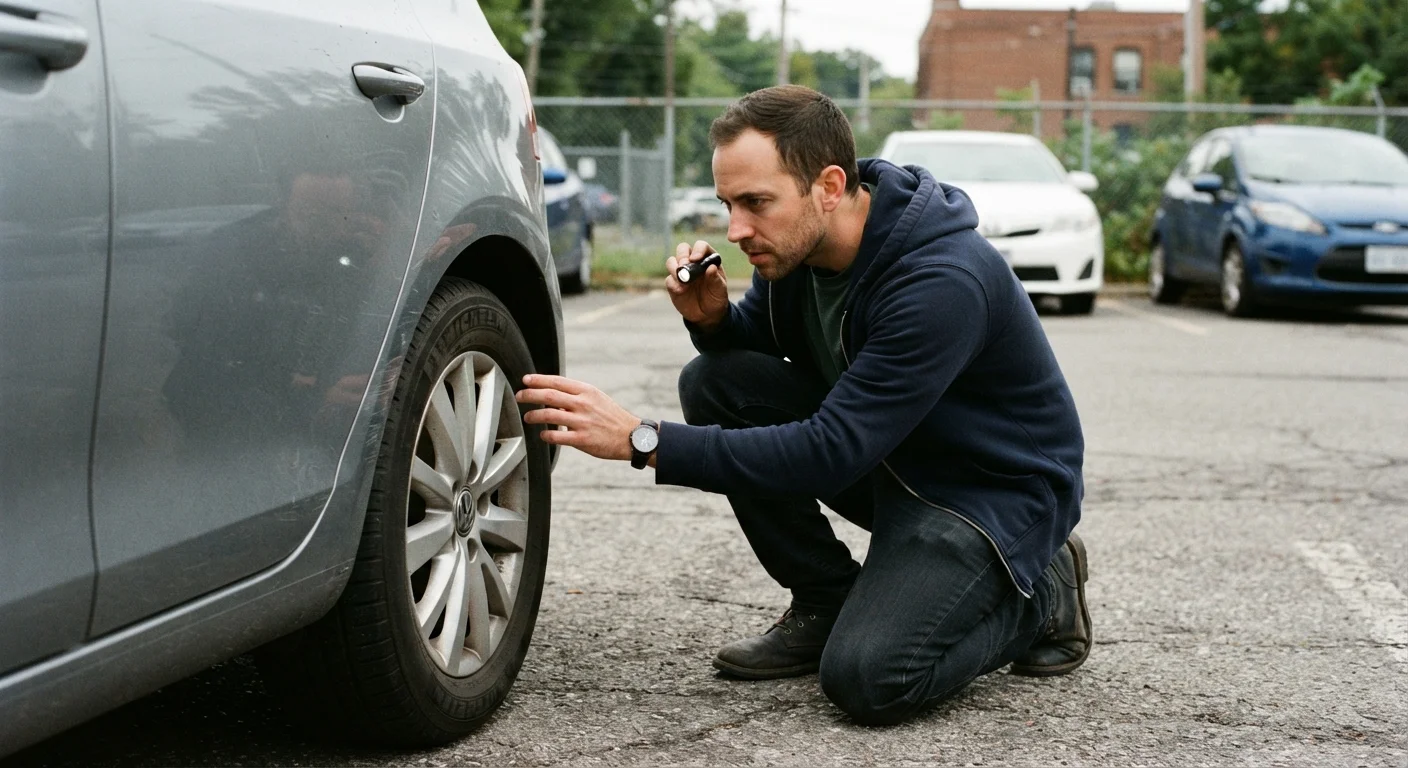
Flashlight or phone torch
Essential for inspecting the engine bay, undercarriage, and interior corners where ambient light falls short.
Tread depth gauge
Measures remaining tire tread accurately so you can estimate replacement cost or flag uneven wear patterns.
OBD-II code reader
Reads stored fault codes from the vehicle's onboard diagnostics port, including codes that don't trigger a dashboard warning light.
Paint depth gauge
Detects unusually thick paint layers over body panels, which can indicate filler used to conceal collision damage.
Notepad or inspection app
Records specific findings zone by zone so you have documented observations to reference during negotiation.
The Inspection Checklist
Work through each group in sequence. Start outside in full daylight, move inward, then assess the mechanical systems last. If you encounter multiple items flagged in any single group, treat that as a signal to either walk away or arrange a professional inspection before proceeding.
Exterior & Bodywork
Tires & Wheels
Interior Condition
Engine Bay
Undercarriage & Structural
Documentation Cross-Check
Your Visual Check Has Real Limits
A buyer's walkthrough — however thorough — cannot detect hidden frame damage, compression issues, transmission wear, or internal engine faults. If the vehicle passes your visual check and you intend to proceed, arrange a pre-purchase inspection with an independent mechanic before signing anything. This step is particularly critical for high-mileage vehicles, older models, and any car where the service history has gaps. See what each approach catches for a direct comparison of DIY vs. professional inspection coverage.
For a broader framework that puts this inspection in context — from researching listings through to finalizing paperwork — see the complete used car evaluation guide.
What to Do After the Walkthrough
A completed checklist gives you two things: a clearer picture of the vehicle's condition and a negotiating basis grounded in specifics. If you flagged items in multiple zones, quantify their repair cost before agreeing a price — or make approval of a professional inspection a condition of your offer.
Your visual walkthrough is not a substitute for a mechanic's assessment. A trained eye under a lift will catch what you cannot from ground level. How to get the most from an independent mechanic inspection explains what to request and how to interpret the findings.
Also review the vehicle's documentation before committing. Eight documents that should travel with every used car outlines what to ask for and what gaps in paperwork actually signal. And if the asking price still feels uncertain after your inspection, this checklist for verifying a car's claimed value can help you benchmark the price against condition.
This article provides general educational guidance for used car buyers and is not a substitute for a professional mechanical inspection. Condition assessments vary by vehicle age, model, and use history. Always consult a qualified mechanic before finalising any vehicle purchase.